Final Lumion Video
Monday, May 18, 2015
Friday, May 15, 2015


Thursday, April 30, 2015
Progress


After discussions with my professors, I believe that on ground level, on the public block (left) I'm going to incorporate a cafe, some gallery space, and entrances. On the private block, I am going to incorporate a private entrance, but am a little lost as to what ells? another gallery space? or maybe something ells.?
On the 1st level of my building, the "L" like floor slab will be more public gallery. But in order to keep this separation from private and public, I have added a sloped walkway that you see on the lower left side of the public building ground level plan, and then you see it continue on level 1. This structure is for the public to see and and grab their attention to walk up it. and then this way, steer the public away from the private areas or even semi private areas.
Also on level 1, in the private building, I want to incorporate some small classroom areas for teaching, and maybe even a small auditorium for some guest speeches or what ever ells.

This render does not show my windows on the building it self. it was just to play with lights and see my building as a whole.

Wednesday, April 15, 2015
Rough Floor Plans


Private Building 
Public Building

Monday, March 23, 2015
Private Building Notes / Ideas / Sketches


Friday, March 20, 2015
Hybrid and Scaled Study Models
This is my 1st attempt at a Hybrid model of my smaller study models. I was trying to combine the rubber bands, aluminum poles, balsa wood and, white plastic to form more spaces. I was still a bit lost so I continued to make study models in scale according to my lot size. 

My 1st attempt at a scaled model I used only chip board. This is an unfinished model, but it starts to explain how I am thinking about my site. Try to imagine the "floors" extruded upward to become spaces. I was playing around with the idea of multiple floors shifting, and some type of organic facade. 
 For my 2nd attempt, I played around with the concept of a floating building since my site is in a flood zone.This model is also unfinished, but again does a good job at representing where I am in my design phase. Picture the glass poles as circulation, as structure, and also as design. I want these poles to start to form a shape other than just a tube. While making this model I started to come up with ideas that I further developed on rhino, like having my building start to bend/shift in the direction of the pole to start to create a bond between both parts of my building. I don't want the "poles" to be plotted down arbitrarily.

In these drawings/notes, I started to clearly spell out the ideas in my head. I created a rough massing in rhino of my last scaled model, and then started to draw over it the ideas I have in joining these two lots as one.


Wednesday, March 4, 2015
Study Models
CONNECTION
These models were intended to show the connections between spaces. How connections can be organic as well as simple. In my connection collage I am showing a chain link, bridges, the world and, people, and how all of those symbolize connections. In my 1st connection model (going from top down), I'm trying to represent the bridges, and how bridges can connect to each other in this organic fashion. In my second model I was starting to experiment with this idea of connecting separate forms with rubber bands, and trying to work with different levels and structures. And that what led me to my third model of this connection between bridges and rubber bands and almost teeth like structures that could start to resemble different portions of my building.


MATERIAL
My material models were intended to represent the materials that were on my site.
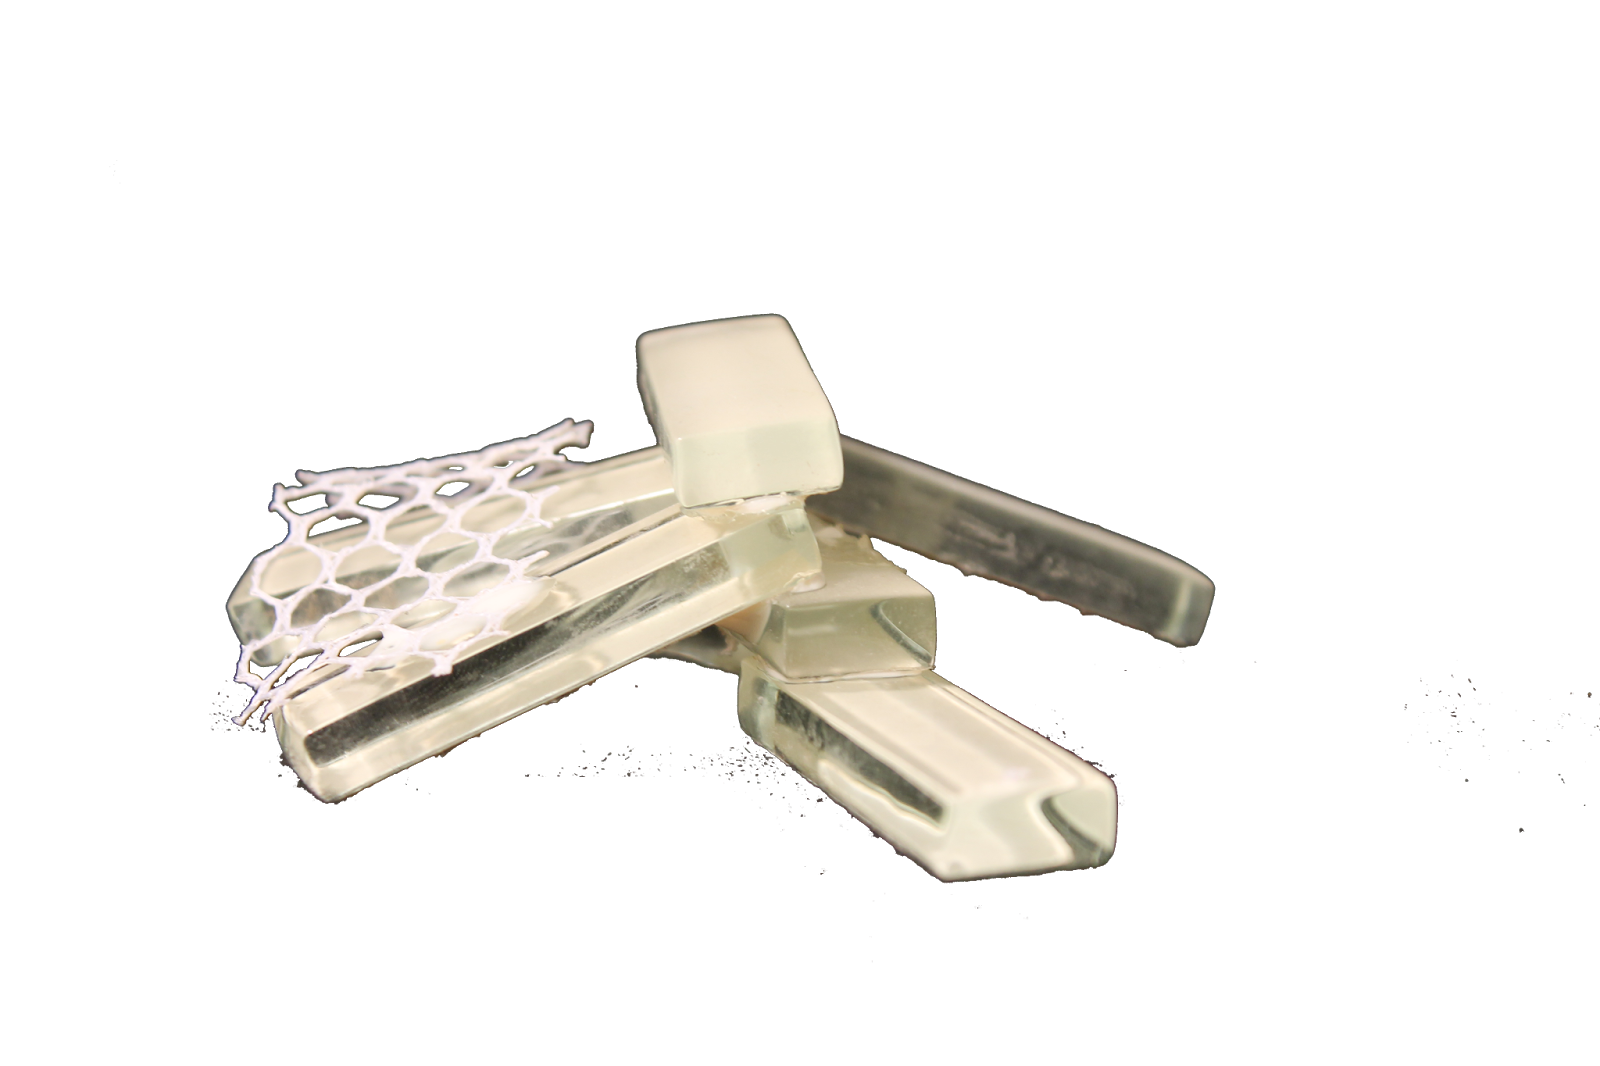


TYPOLOGY


Subscribe to:
Comments (Atom)